
Deck Staining 101: What to Know Before You Refinish
Having a deck in your home adds another layer of personality and value to your home exterior. A wooden deck is a refreshing spot for family and friends to gather. But when you see its peeling paint and washed-out stain on the wood, it can be an uncomfortable sight. To maintain a polished-looking beauty, your wooden deck should be properly maintained. Wood can become unappealing to look at when not protected by a stain. Before you decide to refinish your deck, let us explain the differences between staining and painting.
1. Appearance
Staining your wooden deck emphasizes the natural quality of the wood. Stains preserve the warmth and beauty of the wood’s natural grain. The primary purpose of paint is to cover the natural color and imperfections of the wood. A painted wooden deck will lose its original color and can be refinished in a variety of shades.
2. Protection
Both painting and staining offer deck protection, but painting can offer a thicker layer and complete surface coverage. Since wood stain has a thinner layer, it may require frequent application. However, paint doesn’t seep into the wood, unlike stain. It stays on top, offering protection specifically on the painted surface of your deck. A good stain prevents moisture from infiltrating the deck’s wood grain and eventually rotting your deck.

Fig. 1. A wooden deck re-stained by Modern Handymen & Remodel
When To Stain Your Deck?
Staining your deck at the right time can make it look new again and keep it in optimal condition longer. But when is the best time to stain your wooden deck?
The best time to stain your wooden deck is when you have sufficient time and dry weather to complete the application of wood stain. If rain, dew, or frost is expected within three days, it is best not to start the staining process. Humidity can significantly affect the quality of deck staining. Check the weather forecast before starting to stain your deck. It is expected to remain dry within the next 24-48 hours. The weather and surface temperatures should be maintained between 10 °C and 32 °C for 24 hours to achieve optimal results. When you apply the stain, the wood must be very dry. However, using wood stain under the extreme heat of the sun can cause the stain to evaporate before it can penetrate the wood sufficiently. It is essential to follow the manufacturer's instructions for curing. Drying time and temperature may vary depending on the type of wood stain used.
How Do We Prep For Long-lasting Results?
Preparing your deck for staining is as essential as the application process. The surface preparation and material selection are key steps in achieving long-lasting results in wood staining. Ensure that the following steps are completed to achieve the best and lasting results during deck staining.
1. Inspection and repair
Inspect your deck for any missed repairs or areas that require cleaning. Any part of the deck that needs to be repaired or replaced, such as a loose nail or screw, cupping, or warping deck boards, should be addressed before starting the deck staining. Pay attention to any cracks, splits, or holes and repair them with a wood filler. Remove any rotted wood with a new one before staining your deck to avoid rework and further damage over time.
2. Clean the wood
Remove existing dirt and dust on your wooden deck using a pressure washer. Use a putty knife to clean the remaining debris between deck boards. Using a deck cleaning solution and rinsing it with a pressure washer, remove tough stains and dirt buildup on your wooden deck. Remove any residue by sanding and scrubbing.

Fig. 2. Sanding and scrubbing the wooden deck before re-staining by Modern Handymen & Remodel
3. Sweep your deck
Sweep off the remaining dust on your deck before applying it using a vacuum or brush. Sweeping the remaining dust off your deck is crucial for a smooth, even finish and preventing premature wear. Even a thin film of dust can prevent the stain from fully penetrating the wood, resulting in an uneven finish on your deck. It can cause bumps and irregularities in the stain, which can affect the overall finish of your deck.
4. Dry your deck
Before applying the stain, ensure the wooden deck is dry to allow for proper penetration. Allow it to dry for 24–48 hours before starting the stain application process. Adequate drying is crucial for the stain’s adhesion. Exposing your deck to moisture without allowing it to dry completely can cause permanent damage to your newly stained deck.
5. Choose the best stain to apply
Choosing the stain that best fits your wooden deck is key to long-lasting results. It comes in various colors, offering you multiple options to match your home's style. You may opt for a transparent or solid wood stain color, depending on how much wood grain you want to show on your wooden deck. You can choose clear, transparent, or semi-transparent stains for newer decks to highlight the natural beauty of the wood grain.
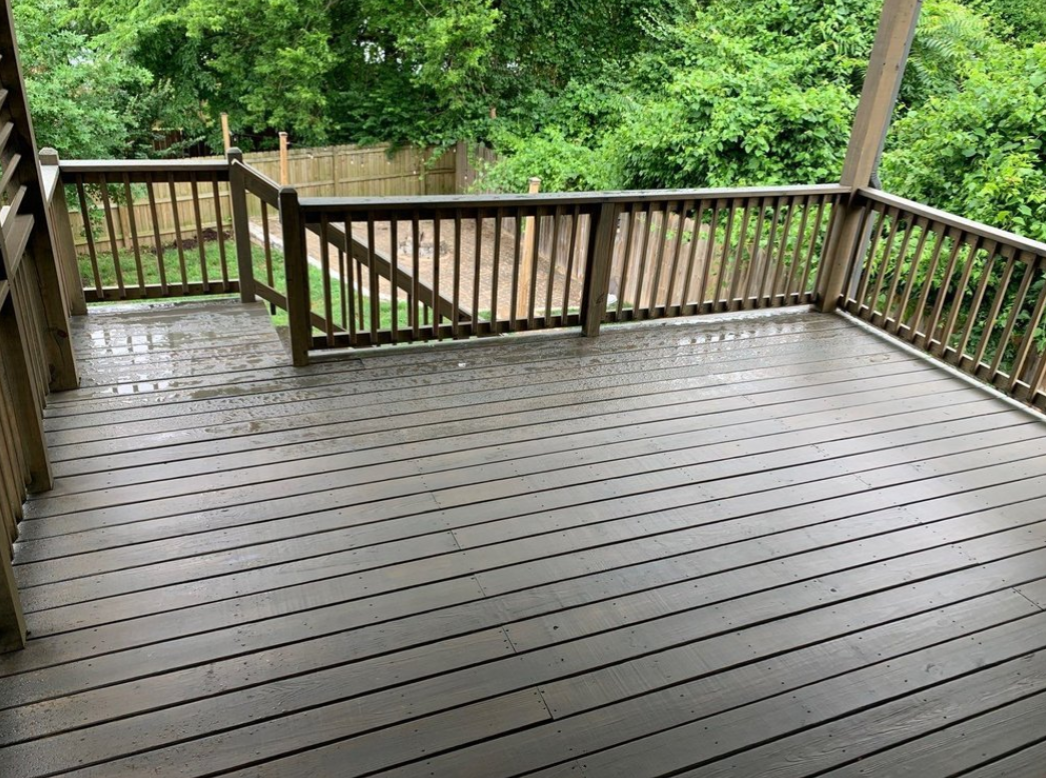
Fig. 3. Solid stain color applied by Modern Handymen & Remodel on a covered wooden deck
Product Types We Recommend
Explore the various types of deck stains and select the ideal option for your wood type and local climate. Here are the following products we recommend:
1. Oil-based stains
Oil-based stain is a popular choice for deck staining when you want a darker and richer color for a wood stain. The stain can penetrate deeply into the wood grains, offering longer-lasting protection. Generally, oil-based wood stains take 24 hours to dry. Although they have a slower drying time and are more expensive than other wood stains, they offer more durability, particularly when exposed to exterior elements such as moisture, UV rays, and wear and tear.
2. Water-based stains
To speed up your deck staining process, consider using a water-based wood stain. They contain pigments that are soluble in water, which contributes to a faster drying time and clean-up. They dry faster, approximately 4 hours from application. Water-based stains are generally more eco-friendly and less hazardous to your health as they contain fewer volatile organic compounds (VOCs) than oil-based stains. Climate and application process are crucial in ensuring the best results when using water-based wood stains, as water content can cause the grain of the wood to raise because the wood fibers might swell.
3. Varnish wood stains
Varnish wood stains are similar to oil-based stains, but they tend to be more challenging to apply as they dry hard, giving you less time to remove excess stains on your deck. Varnish wood stains offer an extra layer of protection for your deck with a highly durable clear finish.
With the right type of wood stain product, you can significantly transform your deck. Choosing the best stain for your deck brings out the natural tone in your wooden deck. Be sure to find a wood stain that works for your deck.
Now that you have learned more about how to prepare your deck before staining, it is time to look for the best deck staining service in town. Modern Handymen & Remodel offers professional and efficient solutions to homeowners seeking expertly stained decks that enhance the value of their homes in Nashville and Brentwood, Tennessee. Our deck staining services are designed to protect, preserve, and improve the natural beauty of your wooden deck. Ready for a deck refresh? Get a free quote today! Call us at 615-200-8071 and let us handle the preparation and finishing work for your home deck.